How to Make Small Batch Syrup at Home
Making small batch syrup at home is straightforward. Combine equal parts water and sugar (typically one cup each) in a saucepan and heat over medium, stirring until the sugar dissolves without boiling. Let it cool before storing in a clean glass container in the fridge, where it'll last 2-3 weeks. You can even infuse it with herbs or spices for extra flavor. Precise measurement guarantees the best consistency, and you can play with different sugar types to change the flavor profile. Interested in more details and flavor variations?
Key Takeaways
- Combine equal parts water and sugar in a saucepan over medium heat, stirring until sugar dissolves.
- Avoid boiling the mixture to maintain the syrup's flavor.
- Remove from heat and let the syrup cool before transferring to an airtight container.
- Store the syrup in the refrigerator for 2 to 3 weeks, monitoring for spoilage.
- Infuse with herbs, spices, or citrus zest for unique flavor variations.
What Is Simple Syrup?
Simple syrup is a versatile ingredient that's fundamentally a liquified sugar solution made from equal parts water and sugar. You'll find it's a staple in sweetening beverages like cocktails, teas, and coffees without altering their texture. The beauty of simple syrup is in its simplicity and the ease of preparation.
To make your own, you'll only need a basic recipe to make it: combine equal parts water and sugar. Start by heating water in a saucepan until it's hot but not boiling. Then, add the sugar and stir continuously until the sugar completely dissolves. This guarantees your syrup is smooth and free of any granules. Once the sugar is dissolved, let the mixture cool.
After cooling, pour the syrup into a clean glass jar for storage. Keep it in your refrigerator, where it can last for 2 to 3 weeks. This method guarantees you always have simple syrup ready for your next beverage adventure. You can even experiment with variations by adding herbs or spices for unique flavors. Simple syrup is a crucial tool in any home kitchen, offering endless possibilities for sweetening your drinks.
Ingredients and Ratios
When making small batch syrup, understanding the ingredients and their ratios is key to achieving the perfect sweetness. The traditional recipe calls for a simple 1:1 ratio of water to sugar. This means you'll use equal parts of each—1 cup of water to 1 cup of sugar, or 8 ounces by weight. This ratio yields a balanced sweetness that works well in most drinks and desserts.
If you prefer a richer syrup, opt for a 2:1 ratio, using two parts sugar to one part water. This rich simple syrup has a more intense flavor and thicker consistency, making it ideal for cocktails or drizzling over pancakes.
The type of sugar you choose also affects the final product. White granulated sugar offers a clean, straightforward sweetness. For a deeper, more complex flavor, try making a brown sugar syrup. Brown sugar adds a hint of molasses, perfect for recipes needing a richer taste.
Flavored simple syrups are a fun twist. After your sugar has dissolved, you can infuse the syrup with fruits, herbs, or spices. This adds unique layers of flavor, making your homemade syrup even more special.
Measuring Ingredients
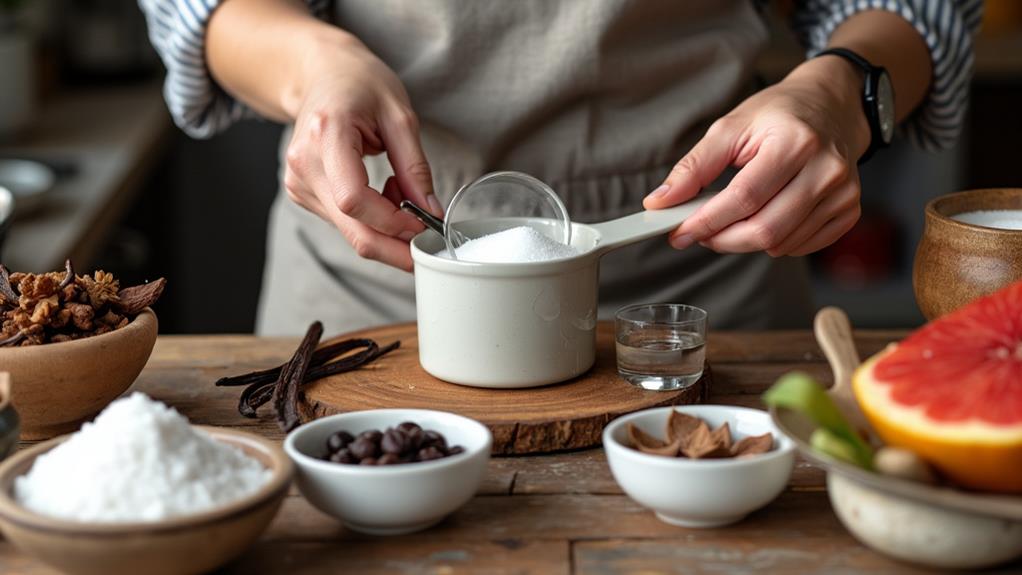
Accurate measuring of ingredients is crucial to making perfect small batch syrup. To create a traditional simple syrup, you'll need to maintain a precise ratio of sugar and water. The standard ratio is 1 cup of water to 1 cup of sugar. This method produces a consistent syrup that's adaptable for different recipes.
For even more precision, consider measuring ingredients by weight. Use 8 ounces of water combined with 8 ounces of sugar. This guarantees you achieve the right consistency every time. If you prefer a richer syrup, adjust the ratio to 2:1, using two parts sugar to one part water. This yields a thicker and sweeter syrup.
A kitchen scale can be a valuable tool here. It assures accuracy, especially when experimenting with different sugar types or specific syrup consistencies. Consistency in your measurements directly impacts the sweetness and texture of your small batch syrup, so take your time and measure carefully.
Step-by-Step Instructions
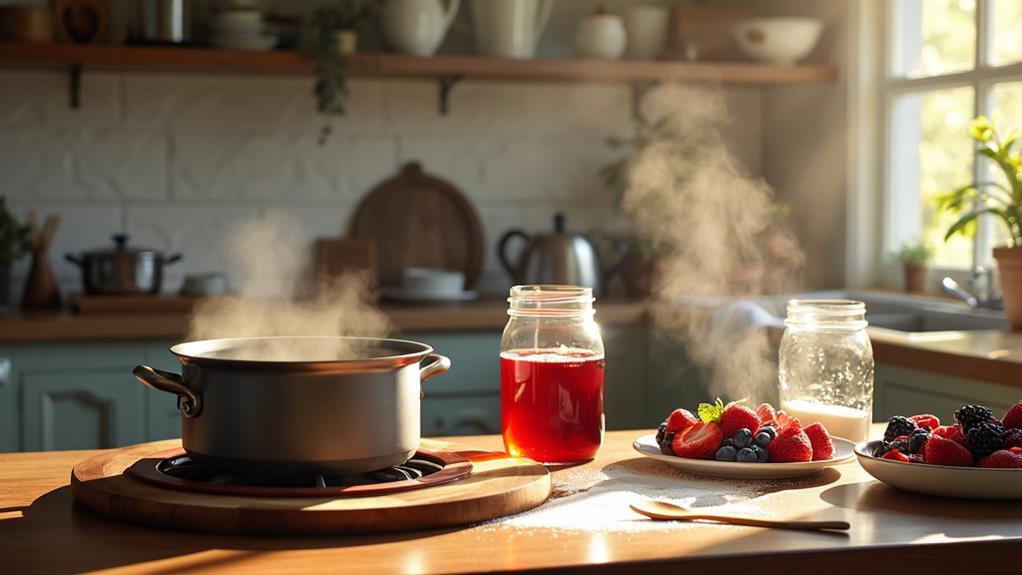
With your ingredients accurately measured, you're ready to start making your small batch syrup. Begin by combining equal parts water and sugar, such as 1 cup of each, in a saucepan over medium heat. This simple syrup recipe is both easy to make and a great base for different homemade syrups.
Stir the mixture continuously to guarantee the sugar fully dissolves. Avoid bringing it to a boil, as this can lead to caramelization and change the syrup's flavor. This step usually takes just a few minutes, so keep a close eye on the saucepan.
Once the sugar is completely dissolved, remove the saucepan from the heat. If you want to add a unique twist to your small batch syrup, now's the time to infuse it with extra flavors. Herbs like mint or rosemary, spices like cinnamon or vanilla, and citrus peels can be added while the syrup is still hot. Let the mixture steep until you achieve the desired flavor intensity.
Allow the syrup to cool completely before transferring it to an airtight storage container. This not only makes it easier to handle but also guarantees it will stay fresh longer. Enjoy your homemade syrup in different beverages and recipes!
Storage Tips
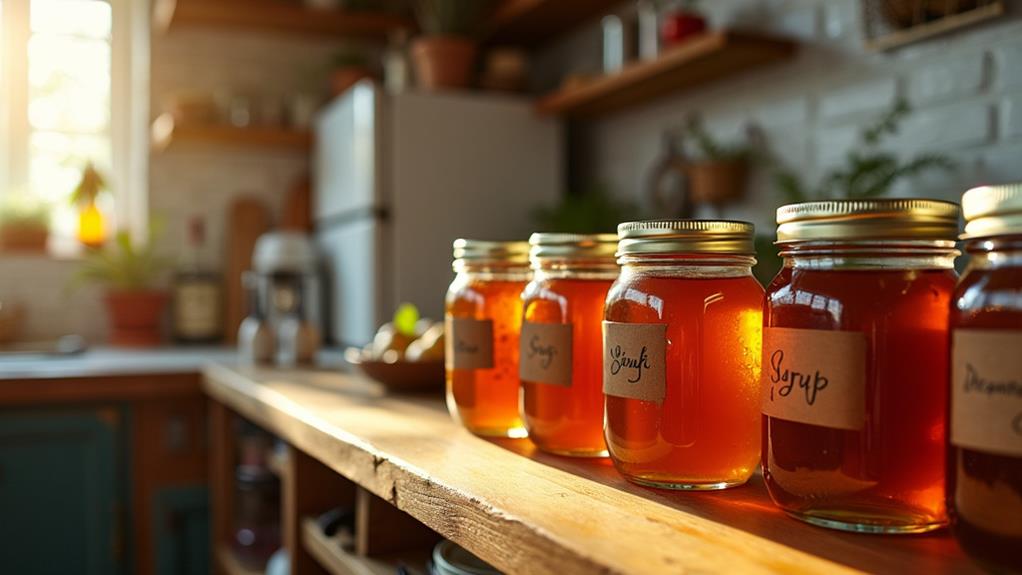
To keep your homemade syrup fresh and delicious, proper storage is essential. Start by transferring your syrup into an airtight glass container. This helps maintain its quality and prevents any contamination. Be sure to label the container with the date you made the syrup, so you can easily track its freshness and avoid using it past its prime.
Refrigeration is key for extending the shelf life of your syrup. By storing it in the fridge, you can keep it fresh for 2 to 3 weeks. During this time, make it a habit to monitor for changes in color or odor, as these can be indicators of spoilage. If you notice anything off, it's best to discard the syrup to guarantee safety.
For longer storage, consider freezing syrup. Pour it into ice cube trays and pop them into the freezer. This method allows you to store the syrup for up to 6 months. When you need some syrup, simply thaw the desired number of cubes. Following these storage tips will help you enjoy your homemade syrup for a longer period without compromising on quality.
Flavor Variations
Exploring flavor variations can take your homemade syrup to the next level, allowing you to tailor it to your taste preferences or culinary needs. Start with a simple base: equal parts water and granulated sugar. Once the sugar has dissolved, the fun begins. For a citrus twist, add fresh lemon or orange zest to the syrup while it's cooking. This not only improves the aroma but also adds a burst of tangy flavor.
If you're after a revitalizing touch, infuse your syrup with fresh mint leaves during the cooling process. This creates a mint syrup perfect for cocktails or iced tea. For a richer, more aromatic option, experiment with vanilla or almond extract. Add about a quarter teaspoon to the cooled syrup, and you'll have a versatile syrup that complements a variety of dishes.
To achieve a deeper, more caramel-like flavor, consider using brown sugar instead of white granulated sugar. This variation pairs beautifully with desserts and baked goods, adding a rich, molasses undertone. Regardless of whether you're using fresh lemon zest or brown sugar, these flavor variations make your homemade syrup distinctively yours.
Frequently Asked Questions
How to Make Simple Syrup Formula?
You can make simple syrup by combining equal parts water and sugar. Try different sugar types for unique flavors. Use proper mixing techniques: simmer water, stir in the sugar until dissolved. Avoid boiling to prevent caramelization. Store in airtight containers. Investigate recipe variations by adding herbs or spices. For serving suggestions, use it in cocktails, teas, or desserts. Refrigerate for up to 2 to 3 weeks.
Is It Cheaper to Make Your Own Syrup?
Yes, it's cheaper to make your own syrup. When you do a cost comparison, you'll see homemade syrup has clear benefits. You can source ingredients cheaply, usually for less than $1 per batch. Plus, you get to customize flavors and avoid unhealthy additives. Homemade syrup also supports sustainability, reducing waste and packaging. So, by making your own, you enjoy better taste, health, and savings.
How Do You Make Syrup When You Don't Have Any?
When you don't have syrup, combine equal parts water and sugar in a saucepan. Stir over medium-high heat until the sugar dissolves, about 5 minutes. For flavor variations, try brown sugar or add honey as sweetener alternatives. Improve your syrup by infusing herbs, spices, or citrus peels, then strain. Let it cool before storing in an airtight container. Avoid common mistakes like boiling and adjust the recipe to your taste. Syrup uses are endless!
Can You Make Simple Syrup and Store It?
Yes, you can make simple syrup and store it. Simple syrup storage is easy; just use an airtight glass container in the fridge, and it'll last 2 to 3 weeks. Homemade syrup benefits include knowing exactly what's in it and the ability to create flavored syrup variations. Adjust syrup consistency by changing the sugar-to-water ratio. With a good shelf life, you can use syrup creatively in cocktails, desserts, and more.